Fermented Garlic Mustard and the Art of Seasonal Eating | Foragerium
Central Scotland, mid-March. Spring is approaching, bringing with it longer days and, hopefully, warmer weather. Our natural response will likely be reflected in more active bodies and clearer minds than in darker, colder, and wetter months. It’s fascinating how seasonality influences human behaviour. From carefree summer clothing, beach parties, and bonfires to the fatigue from the cold and lack of sunlight. From fresh salads and grilled tomatoes to comforting mashed potatoes and fried meat.
For our family, seasonality is most evident on the plate. You could easily discern the time of year by simply opening our fridge or peeking into the cellar or garden shed. As cliché as it may sound, I believe this connection matters most. Being grounded, striving to be in tune with nature and its bounty, and receiving what it gives and when it gives.
However, we are humans. We are an amazing species that can adapt to almost any environment. Why else would we make it so far North? A few adaptations allow us to thrive in uncomfortable and sometimes even hostile environments. When it comes to the latter, think of oxygen tanks for diving or space suits. For uncomfortable or challenging environments, think of houses, clothing, farming, hunting, foraging, or food preservation to help us through times of scarcity.
And food preservation is something I wanted to talk about, specifically one aspect of it: fermentation. For in-depth tuition in fermentation and other food preservation techniques, please keep checking my website or sign up for a newsletter.
Pemmican, fruit leathers, sourdough bread, hákarl, tea, coffee, sauerkraut, or miso—all are the result of the laws of physics, human ingenuity, nature’s bounty, and cooperation with bacteria and/or fungi.
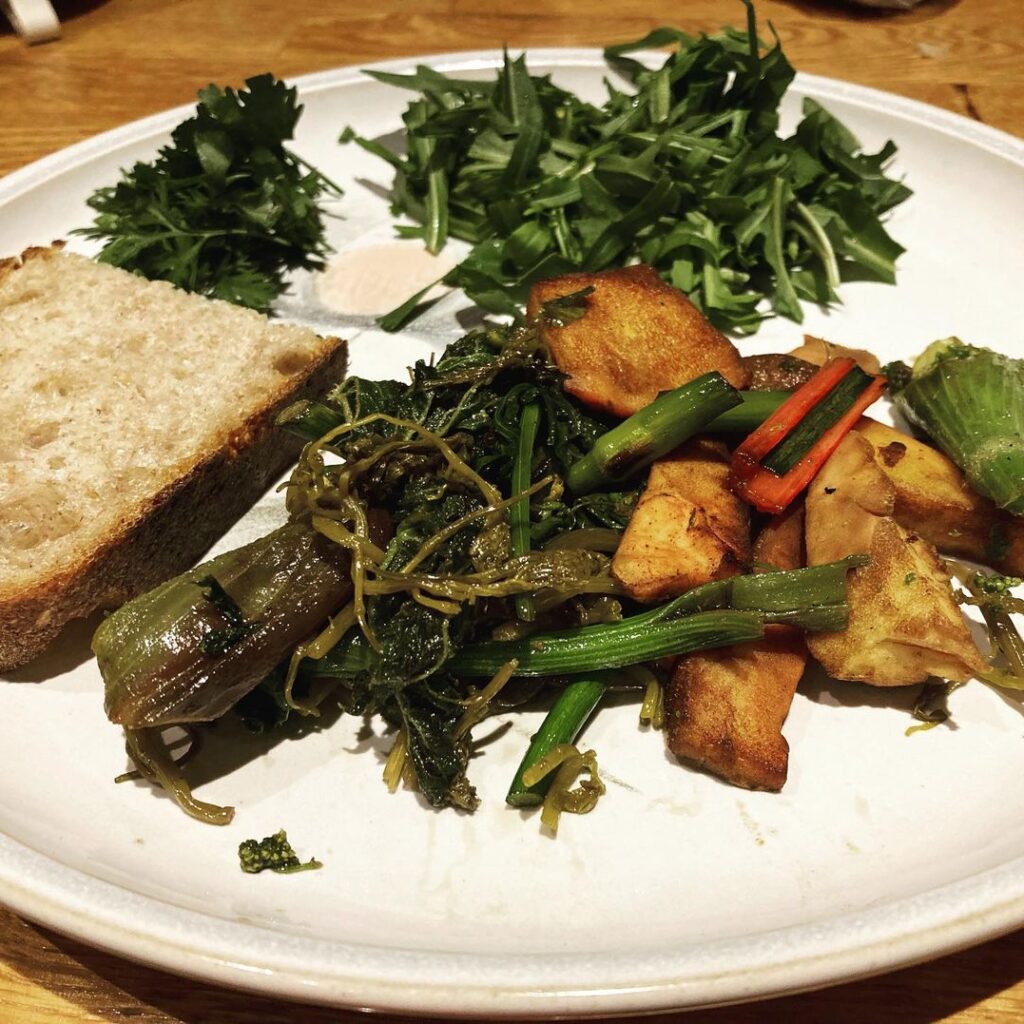
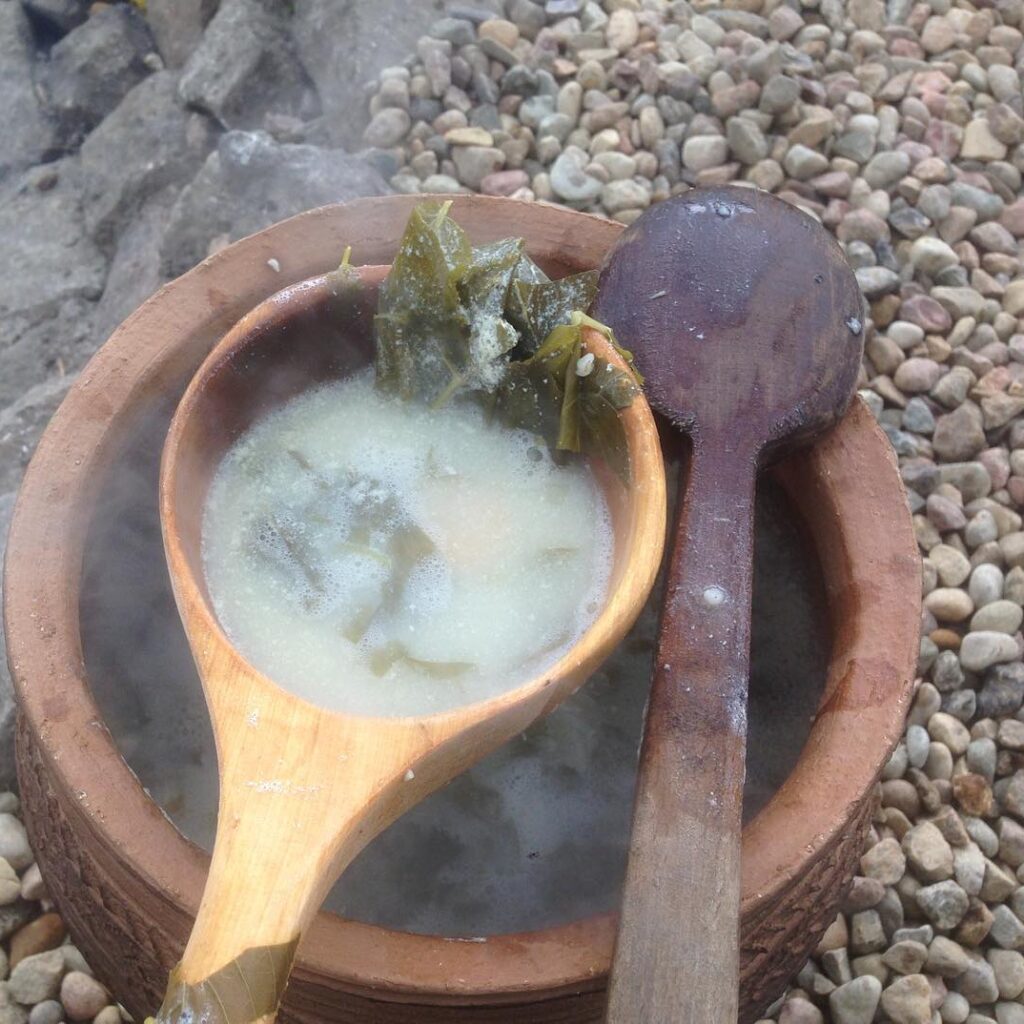
Take wild spring greens, for example. Wild garlic, nettles, hogweed, dandelion, or garlic mustard—they come and go with the gentle warmth of spring, giving them a light texture. Abundant rainwater makes them succulent and crunchy. We can indulge as much as we like, but not for long. Salads, stir-fries, quiches, and soups will disappear as soon as the sun grows stronger and water becomes scarce. Sugars and water will be replaced by fibres, making stems woody, chewy, and bland.
But here comes our ingenuity, generational knowledge, and the help of bacteria. Some of the spring greens can be fermented and preserved for later. While some plants are suitable for fermentation, others are not as great. Try lacto-fermenting nettles and hogweed, and likely you will not do it again unless you enjoy the smell of homemade tomato fertilizer. Alliums and brassicas, such as wild garlic and garlic mustard, are more suited for this process.
Check out my previous recipe for fermented wild garlic here: https://foragerium.co.uk/fermented-wild-garlic/
Recently, a friend of mine, Andy Hamilton, included my garlic mustard write-up and recipe in his new book: ‘’The First-Time Forager: A Complete Beginner’s Guide to Britain’s Edible Plants’’ written for the National Trust. The recipe below is the one I’ve written for the mentioned book. You can get your copy from online retailers.
Fermented Garlic Mustard
Being from the cabbage family, Garlic Mustard has a flavour profile similar to some of its cousins – think horseradish, wasabi, mustard, white cabbage, mizuna, or rocket. That’s due to the chemical composition responsible for brassica’s unique flavour profiles. Chemical compounds responsible for your typical cabbage smell or fiery mustard are called volatile sulphur compounds. Volatile is a keyword here. Once fermented, cabbage family plants lose their taste profile characteristic for cabbage as sulphur compounds evaporate.
After fermentation, many brassicas become milder and softer. Yet often they stay crunchy, juicy, sour, and tastier than when eaten fresh. Fermented foods are not only very healthy, but they can be stored for months (even years) and are extremely versatile – a great food option in times of hardship, rising food prices, and CO2-hungry supply lines. Fermented foods are coming back, and small-scale producers of fermented foods are present at your local farmers’ market or good food greengrocer around the corner. They are storming Britain on a wave of fashion related to sustainable and healthy foods.
You may be familiar with kimchi, fermented mustard greens from the Asian market, or kapusta kiszona (sauerkraut) from the Polish market.
Garlic Mustard has been used for fermentation in Georgia, Armenia, Azerbaijan, and surrounding areas.
To me, Garlic mustard aka Jack by the Hedge works great fermented. It retains its crunch and little pungency but loses its bitterness. The final result depends on how you tackle the fermentation process of course. There are so many variables to consider – the freshness of the plant, fermentation temperature, salt content, and storage temperature. These will all impact your ferment’s flavour, consistency, and shelf life. Despite the variability, providing you follow a few simple steps, you’ll end up with one of the tastiest ferments out there.
What you’ll need:

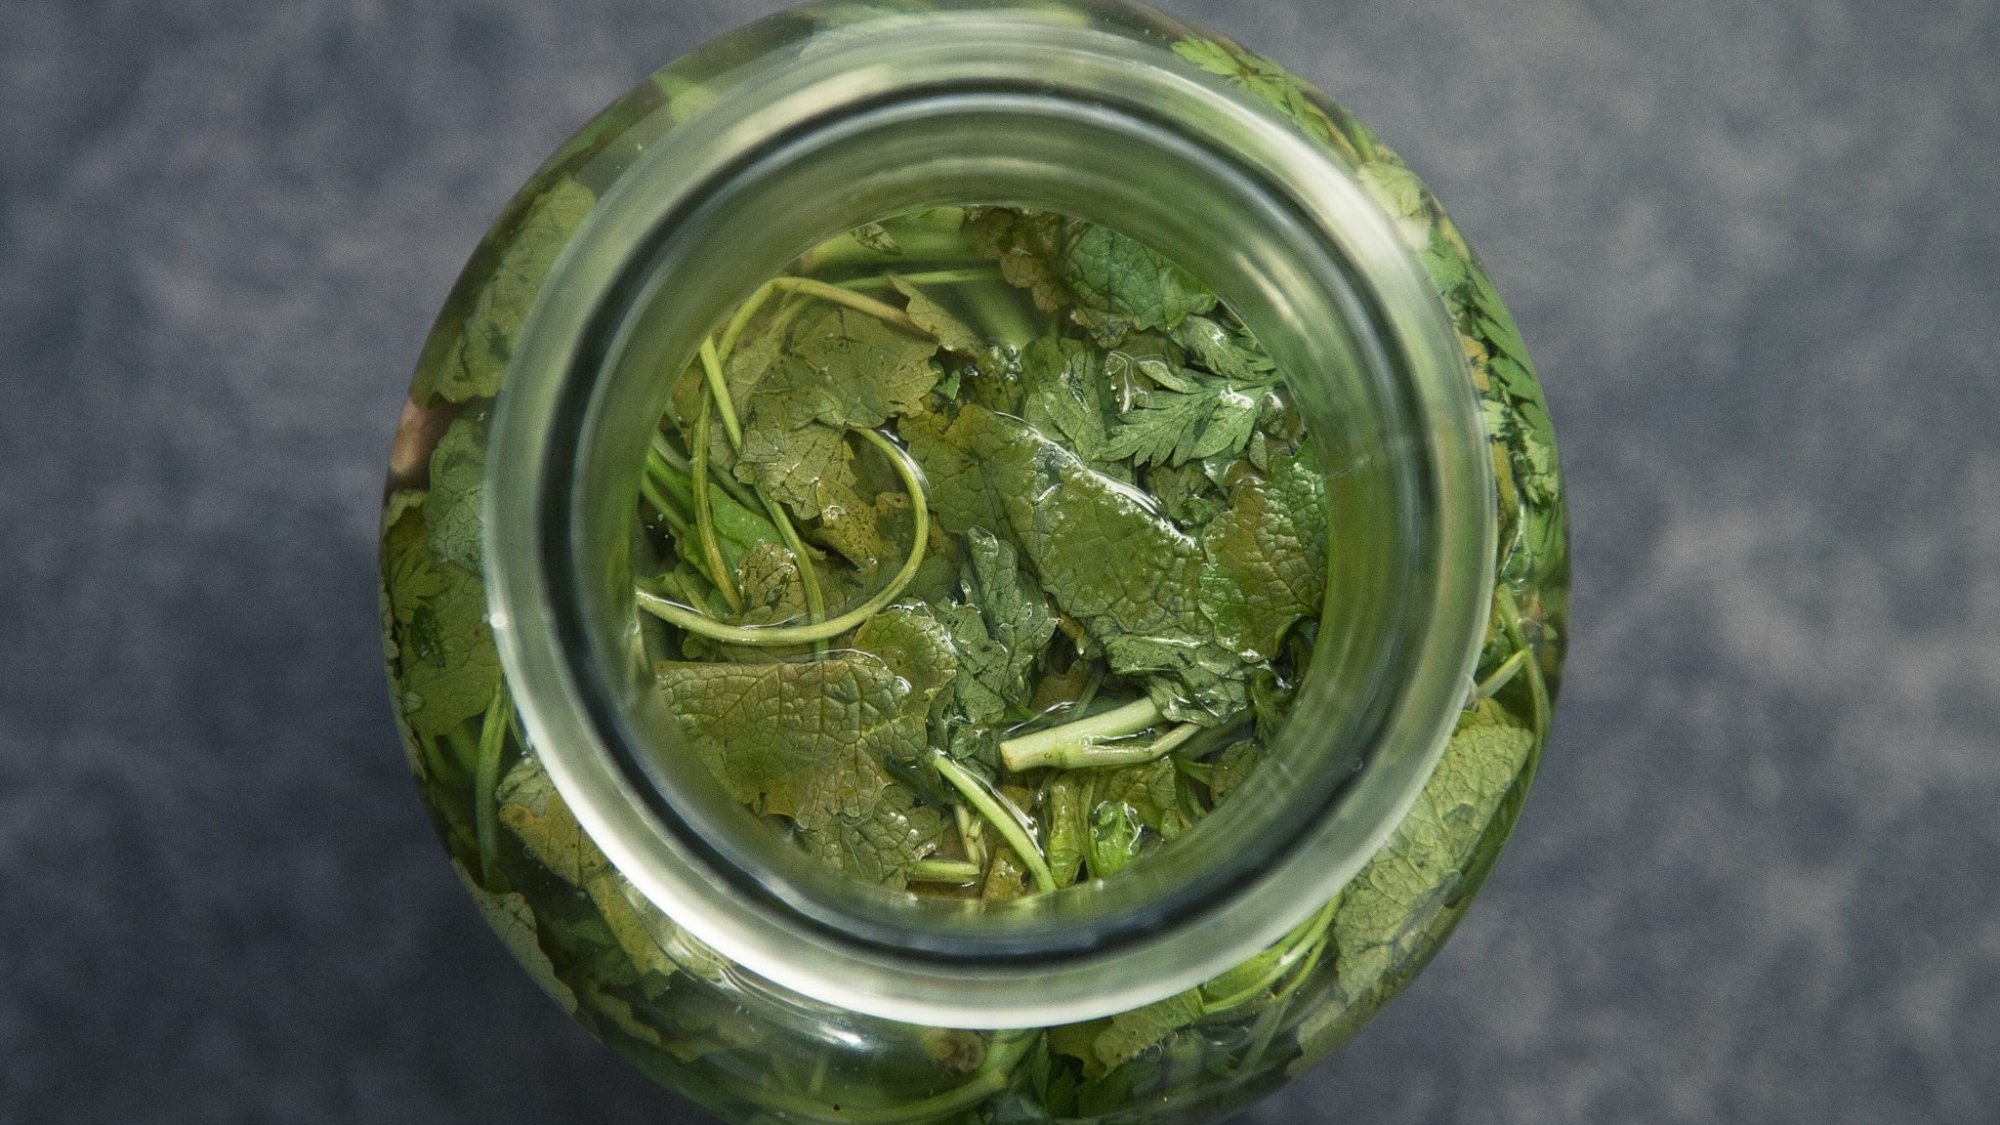
- Fermentation vessel – a glass jar works well.
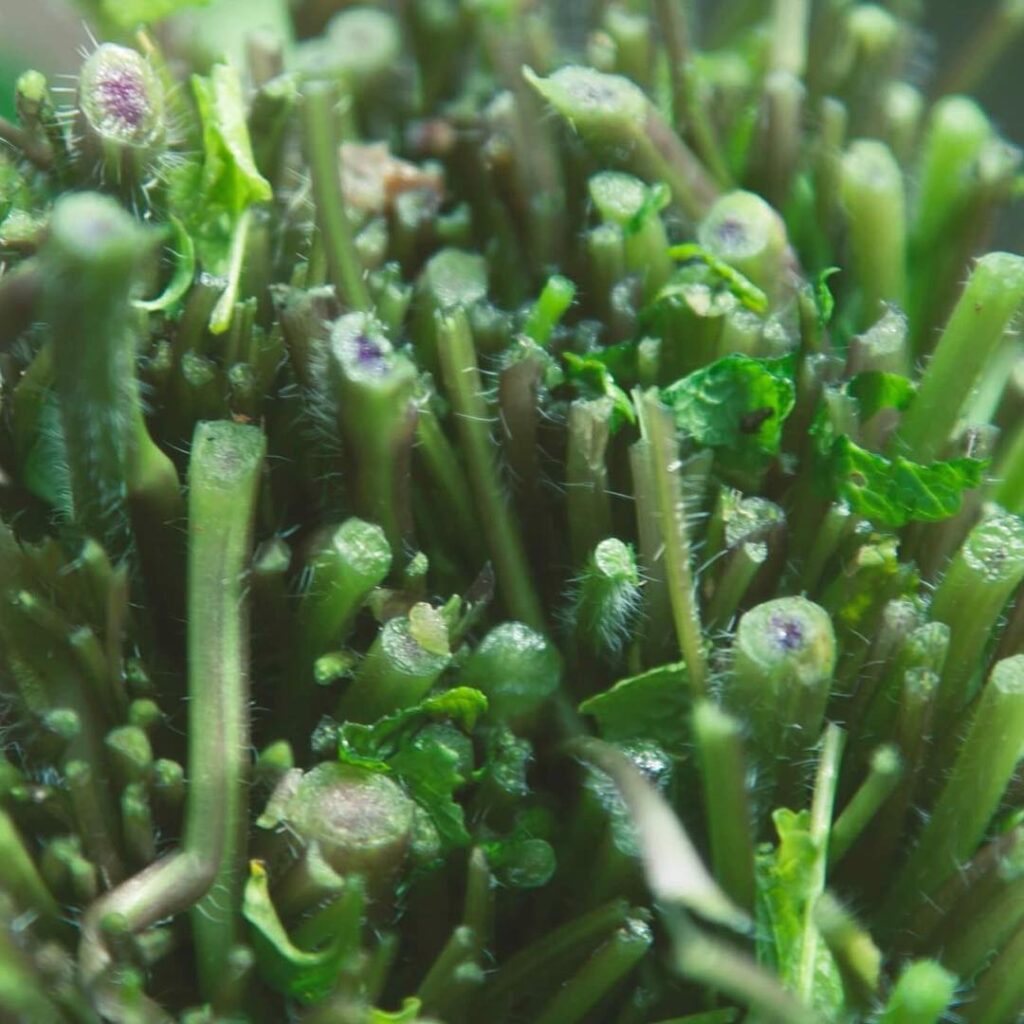
- 1 kg of fresh garlic mustard – stems, leaves, flower buds, and flowers. Remember to pick
before flowering or just after flowering. The longer you wait, the stringier and less palatable
the stems become. Pick by snapping off the tips. They should snap off readily, like fresh
asparagus tips. Young and tender plants can be harvested almost just above the root. As soon
as it gets warmer, the edible and crunchy parts become shorter. - 15-20g of good quality salt.
Method: - Wash the garlic mustard in cold water. Drain well.
- Chop into 5cm (2in) pieces. You can ferment larger parts, but I find smaller pieces to be
easier to pick out from the jar. - In the large bowl, mix the garlic mustard and salt. Massage gently and leave to stand for 20
minutes. Let the osmosis do the work. Within a few minutes, many of the plant’s cell walls
will be ruptured. Stems will wilt, become less rigid, and green juices will flow. - Using clean hands or a tool, start layering your salty mixture into the jar. Take your time,
take care to push down each layer to expel as much air as possible. All plant matter should be
submerged, and 3-5cm headspace should be left to compensate for expanding plant matter. - Cover with a lid of choice and ferment for 14 days at 15-18°C. In this simple recipe, there is
no space to cover all the potential fermentation vessels and the kinds of lids that can go with
them. Any large enough twist-top or Kilner-style jar will do. - You may want to put your jar into a bowl during the active part of fermentation when CO2
is being produced. This will prevent the jar from leaking on your countertop. You may notice
your jar making a funny noise. It’s the bacteria at work, transforming sugars into CO2 and
lactic acid that will preserve the food. Remember, those volatile sulphur compounds are
escaping now too. - After 2 weeks, your ferment will be ready. You can either keep it in the fridge and consume
it within a month or pack it tightly in smaller jars and keep it in the fridge for up to 2 years.
Leave a Reply